-
Getting started
We've had a weeks holiday planned for a while but I've been putting off doing a simple conversion until it stopped raining. As it hasn't stopped raining I've left it to the last minute. A quick trip to B&Q for some wood, not the best place to buy but I like to poke and prod what I'm buying and that's tricky at the wood yard. B&Q also offer free cutting which I hoped would save a bit of time. Two sheets of 12mm exterior ply and 6 lengths of stud on the trolley and off to saw, long story but basically it took ages and I didn't really get what I wanted (partly because the young assistant couldn't convert metres to mm, seriously!!) but it did all fit in the back.
-
'Workshop' set-up. Just about kept the rain off the saw.

-
Rear structure, free standing.

-
Free coated chipboard from Ikea for sliding fridge shelf and counter top. I think they were bits of wardrobe.

-
Bed base. Sits where seat rails were and screws to rear structure. Lots of storage underneath.

-
12mm ply bed base. Just sits on top. Seats forward for full length (1.4m x 1.9m)
I already had an Ikea futon mattress, a foam one, that fitted really well. Made for a good size bed. It needs some shelves or drawers in the back for better storage but we got by with some boxes and shopping bags. The space under the bed was huge and fairly easy to get to as none of the ply was screwed down. Also nothing was screwed or bolted to the delica as the frame was really rigid. All in it took about 3 hours not including the trip to B&Q.

-
For driving the end 300mm slides under the matress to allow the seats to go fully back.

-
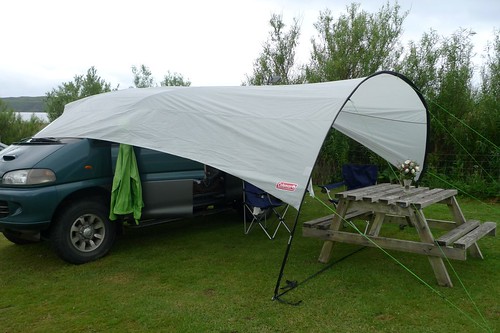
'Coleman awning, doubling up as curtains. Worked well to give us some space out of the rain for cooking and chilling.

-
'Boat fits under the bed.

-
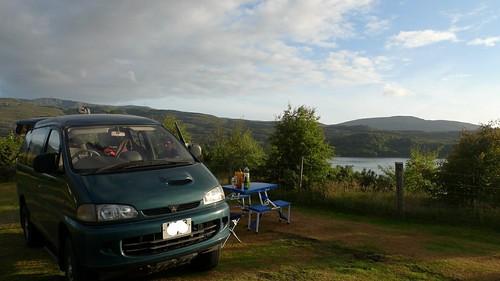
Gratuitous sunny camping pic

-
And after...
Just got back and it took about 20 mins to remove. Should be able to re-fit it in about the same time.
A few more pics on Flickr